How to Use Natural Light for Product Photography
I am a natural light brand and product photographer. I do not own any fancy lighting equipment because I think that natural light is the best way to get an authentic look in your photos. Even if you don’t have fancy equipment, you still have to understand how light works in order to use it to your advantage, and so today I am writing about the basics of natural light so that you can better understand and use it in your brand photography.
In order to use natural light well in your brand photography you need to understand the characteristics of light. There are four: intensity, quality, color, and direction.
Intensity, or quantity of light, refers to the brightness of your light source. For instance, natural light will be more intense, or bright, on a sunny, summer day than on a rainy, winter day. It will be more intense in the middle of the day than near dusk or dawn. The intensity of the light determines what settings you will need to use on your camera to get a good exposure for your photograph. And no, brighter is not always better.
The quality of light refers to how “hard” or “soft” the light is. The quality of the light depends on two things: distance and size. Hard light has defined shadows, and is achieved when the light source is smaller and/or further away from your subject. Soft light (my preference) doesn’t have defined shadows and is achieved when the light source is closer and/or larger. The sun creates hard light (distance being the main factor) whereas clouds act as a giant soft-box that create softer light. An indirect light source like a north facing window (where the sun isn’t streaming directly in) can also create soft light that will let your subject stand out.
Color of light refers to the temperature of light (measured on the Kelvin scale). Light can be warm (manifested in orange tones) or cool (manifested in blue tones). A cloudy day will have warmer light, whereas a sunny day will have cooler light. Dawn (blue hour) will also provide cooler light, and dusk (golden hour) will provide warm light. You can adjust your white balance on your camera to balance the temperature of the light so that it doesn’t create a color cast on your photos or you can embrace the mood.
The direction of light refers to which direction the light is shining on your subject. The three directions of light that are most common in naturally lit situations are back light, front light, and side light. Back lit images will most often result in your subject being silhouetted in your scene and is not usually the best situation for product photography. Front lit images often fall a little flat, but the bonus is that your subject will be well and evenly lit. Side lit images create more texture and contrast in your subject. I prefer to use diffused side light for my brand and product images.
Here are some examples of photographs featuring a few of the different characteristics of light (as noted underneath each photo):
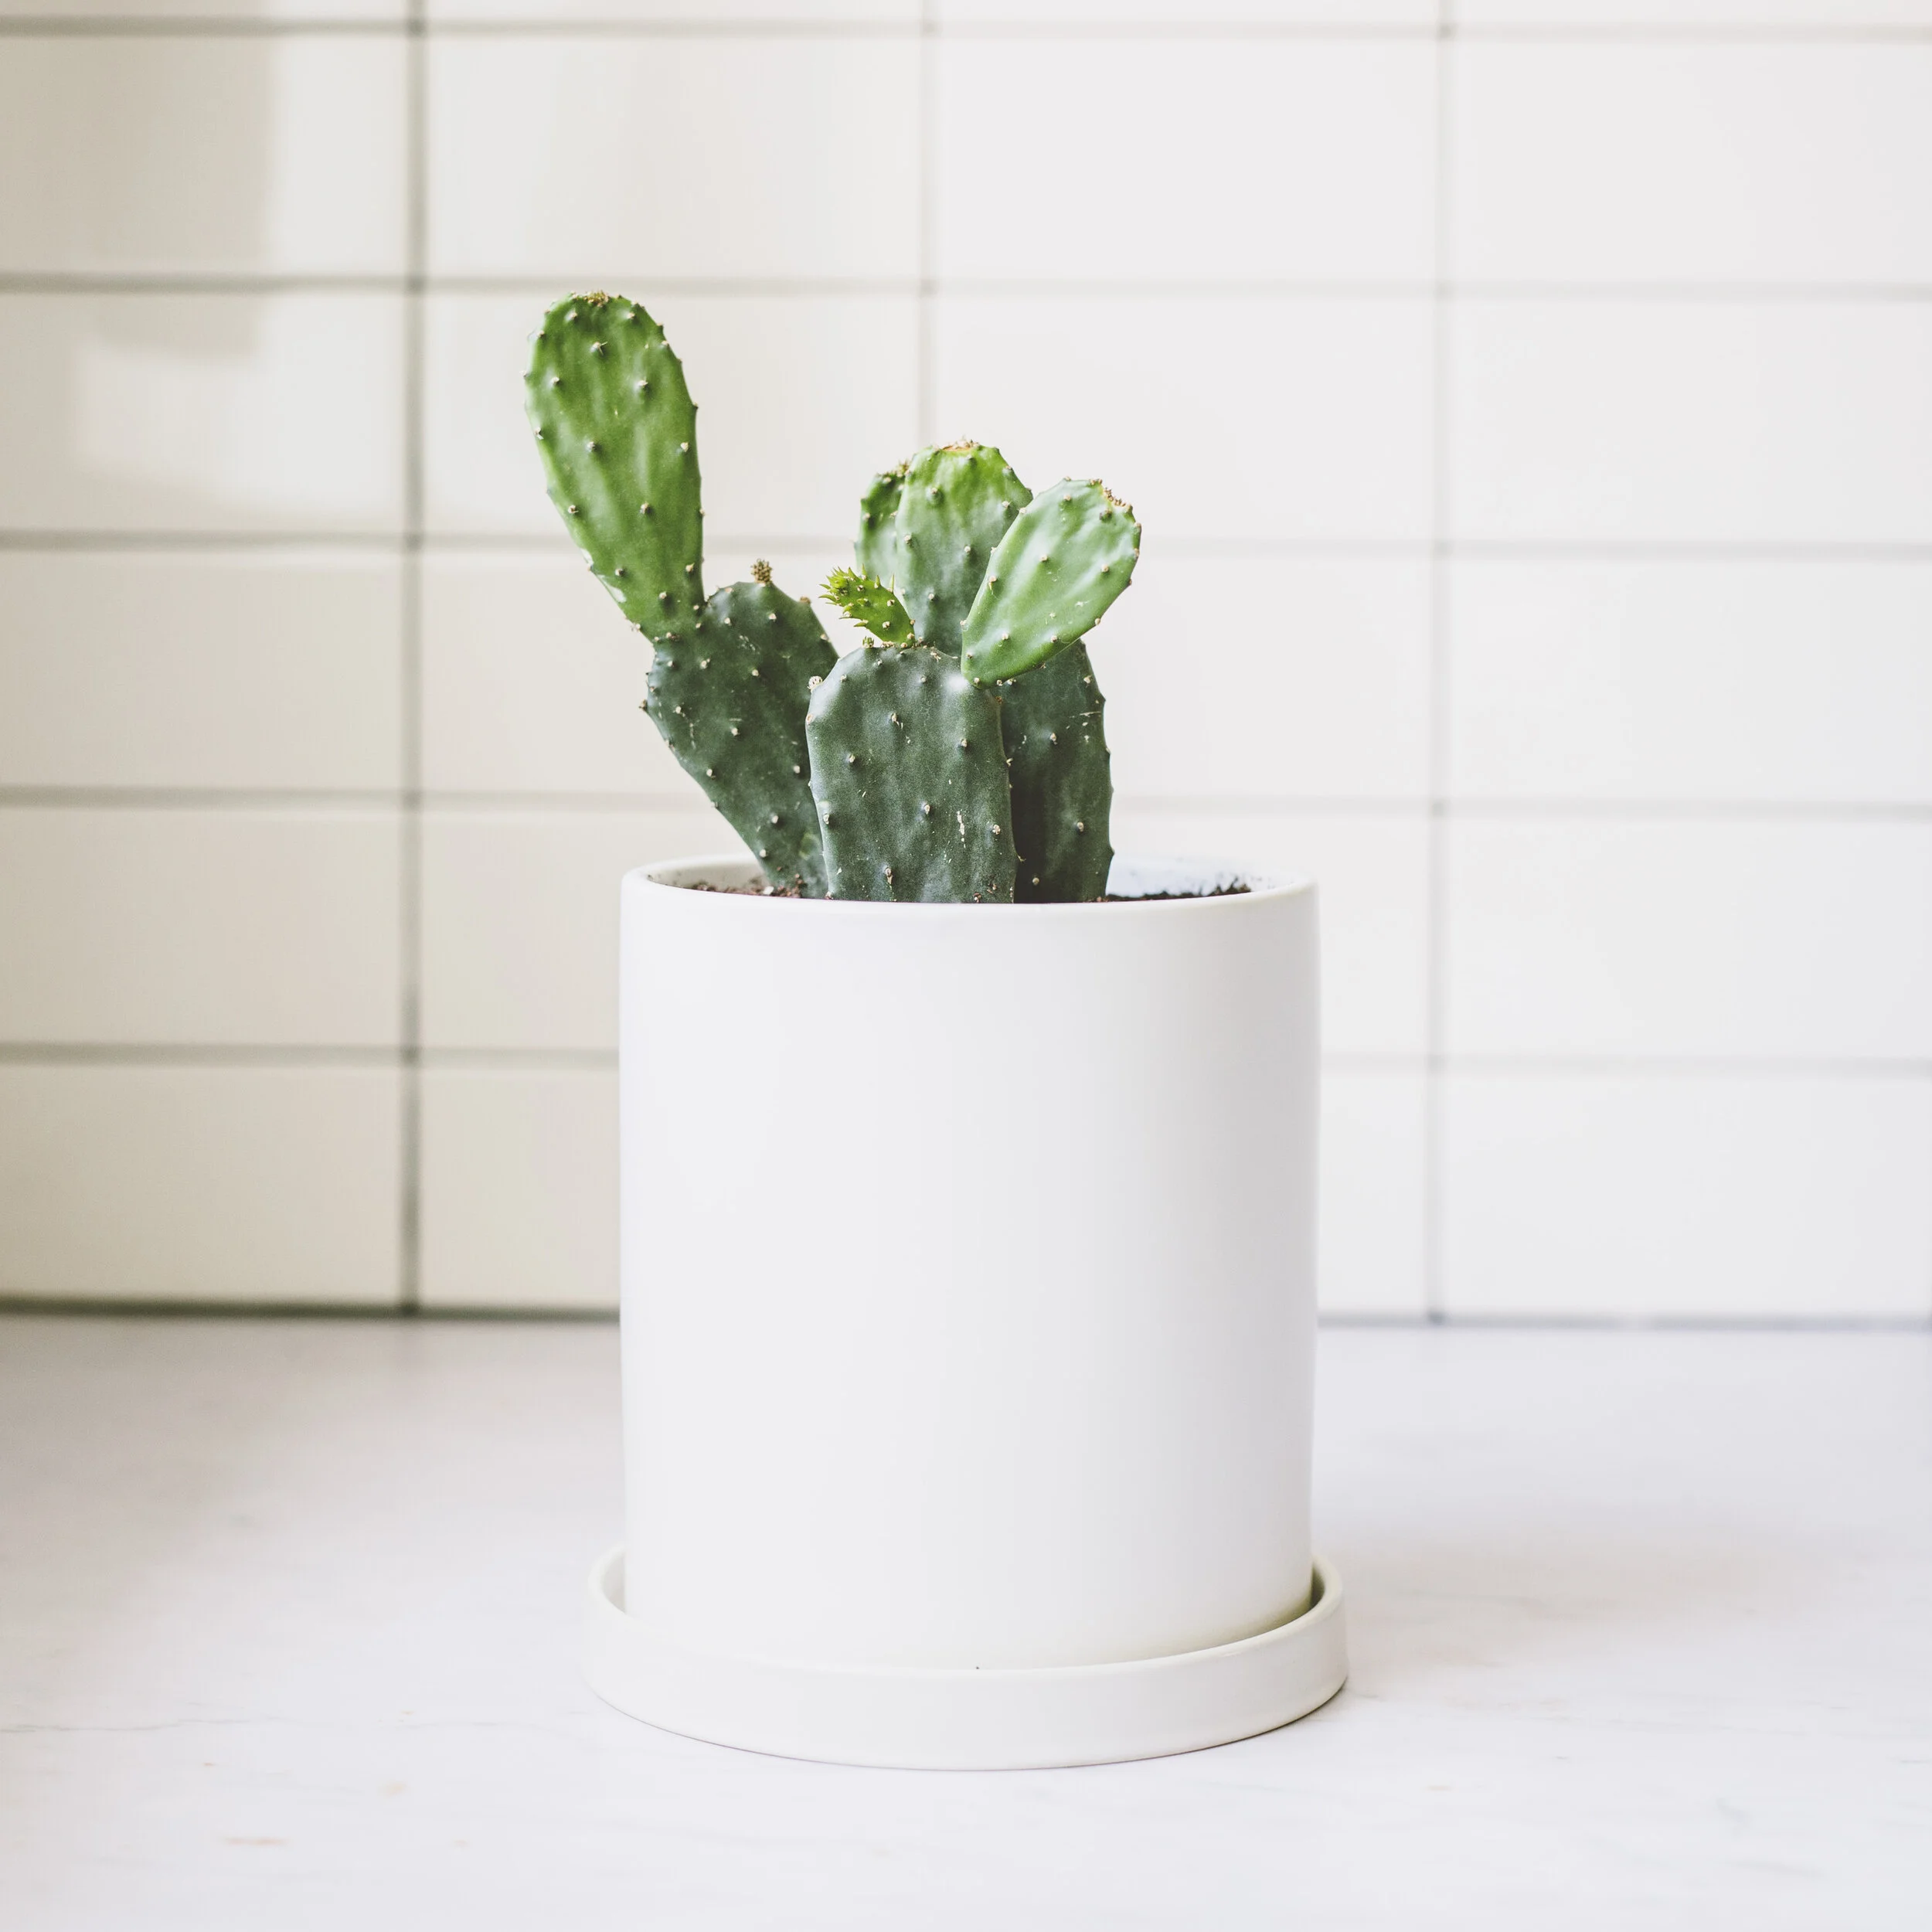
Soft Light
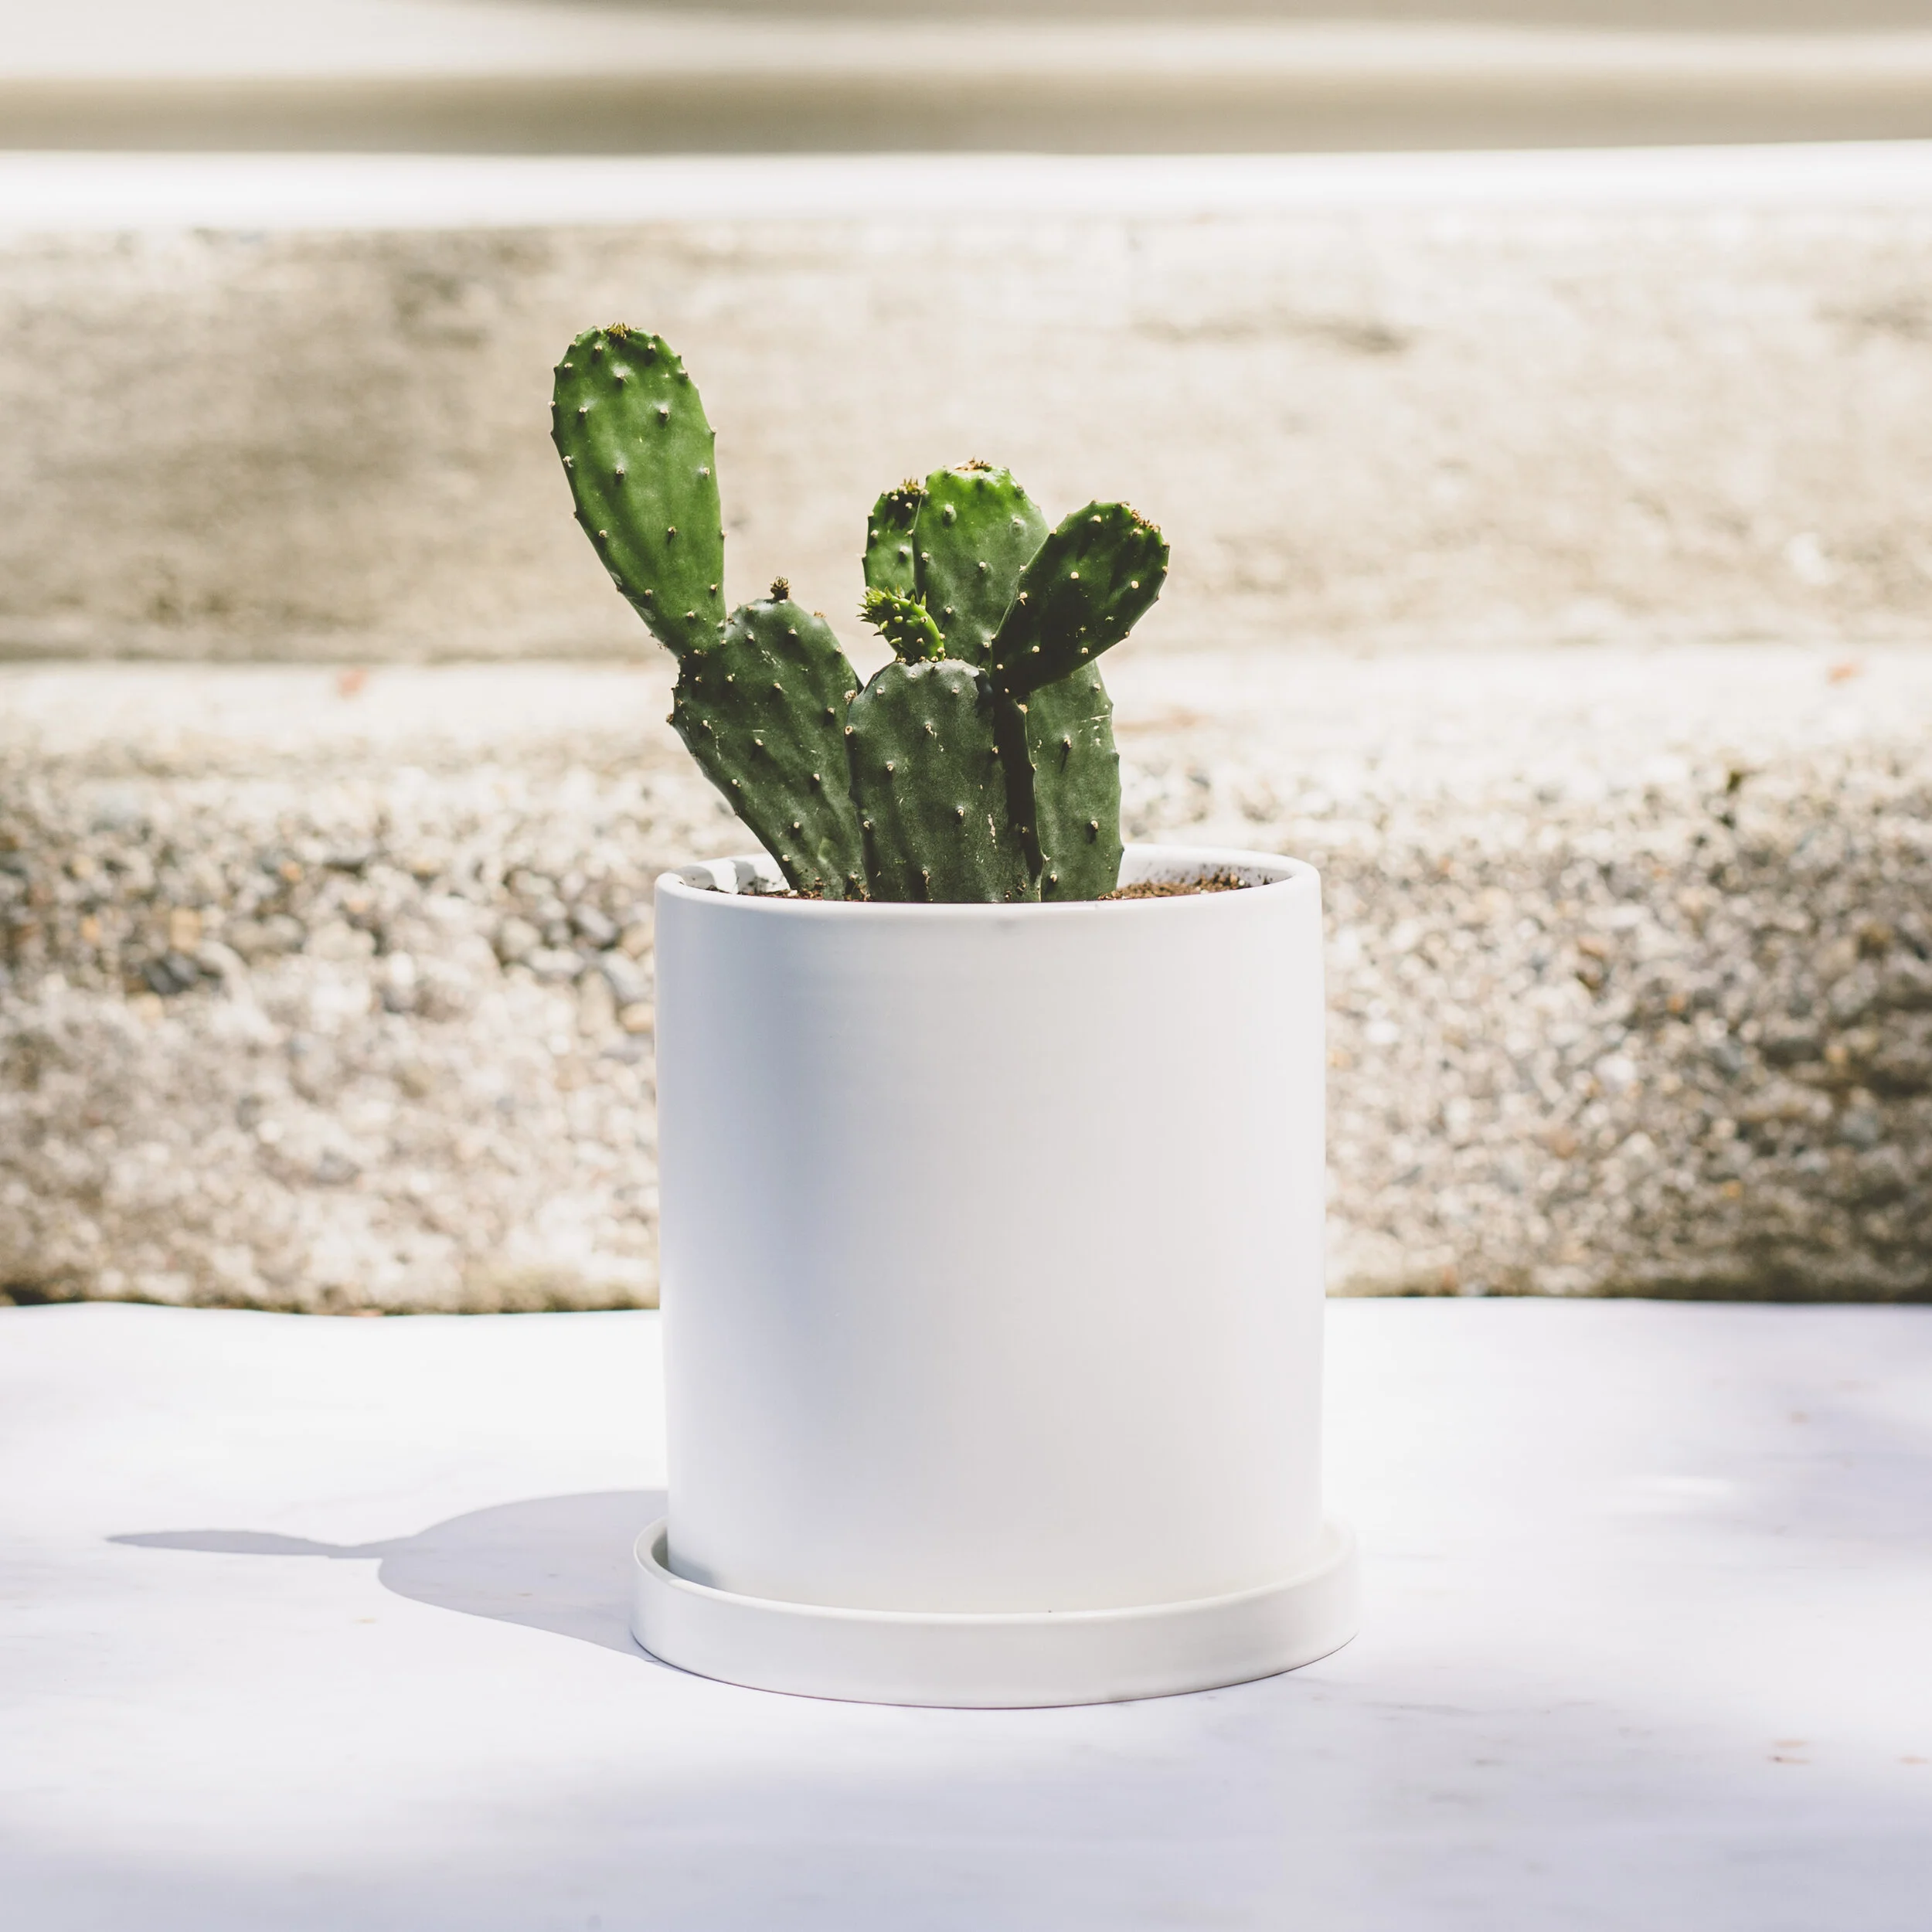
Hard Light

Back Light

Side Light
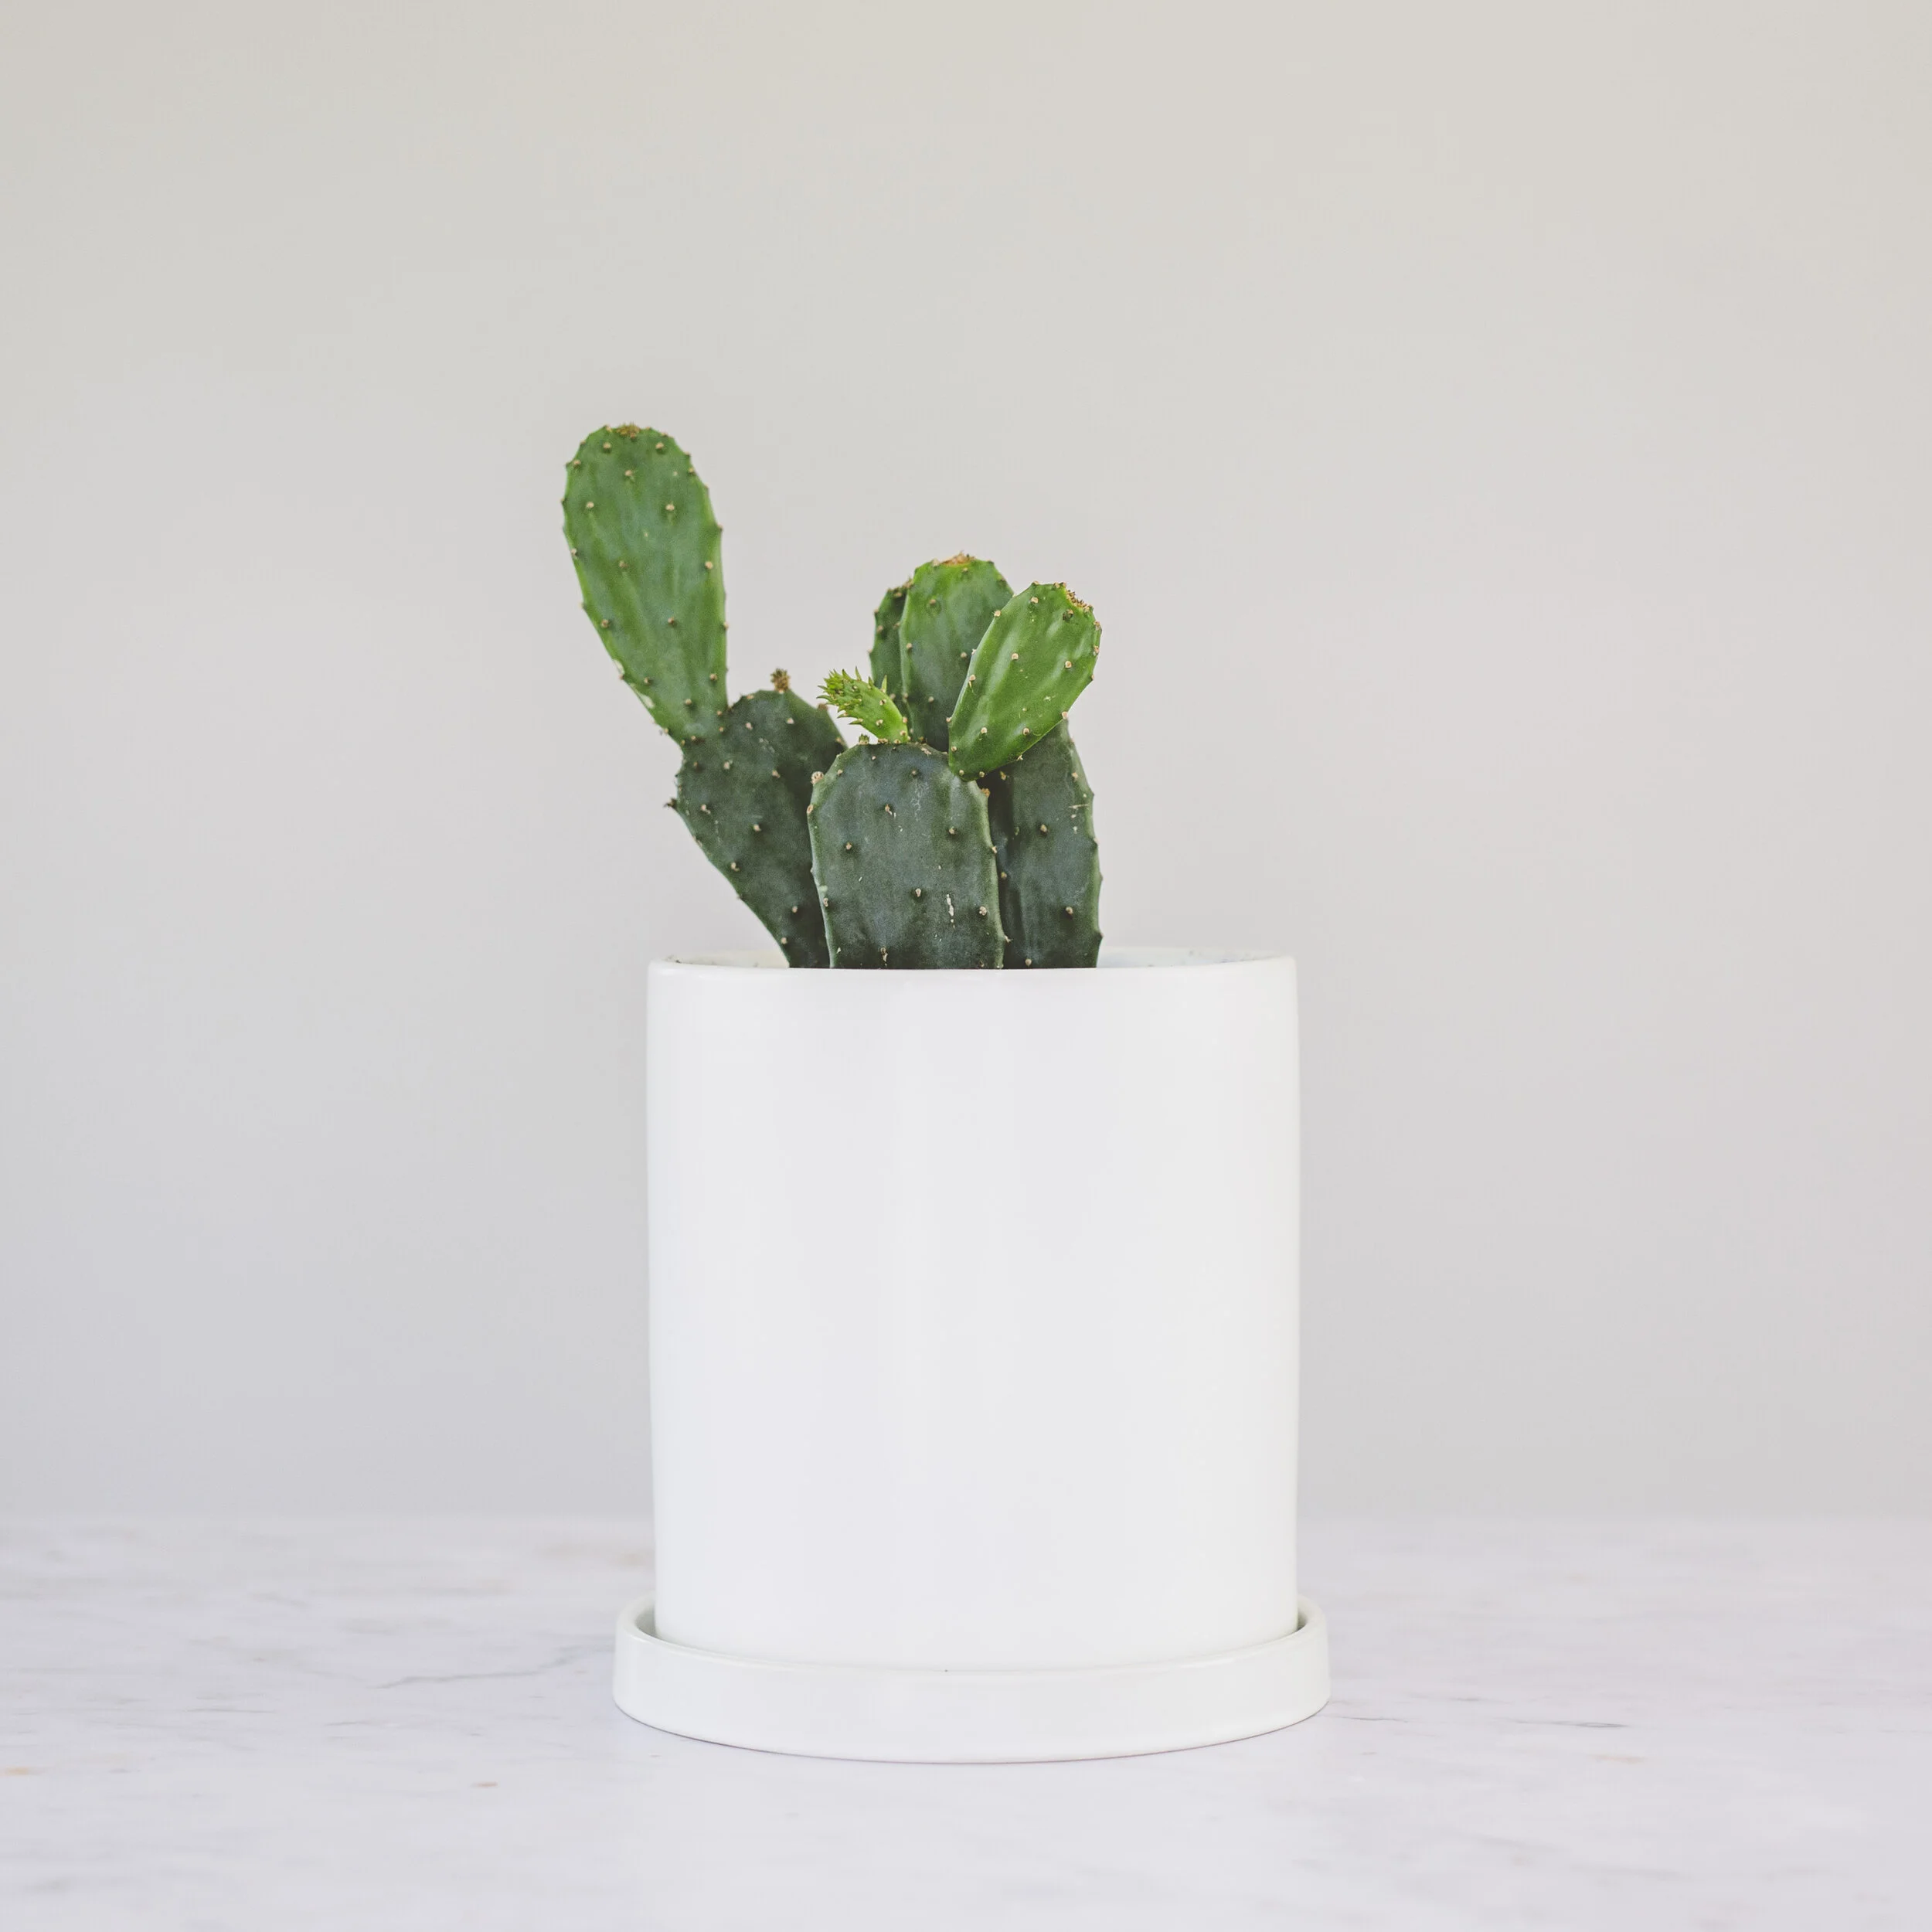
Front Light
Personally, my favorite type of light to use is diffused (soft) side light that is positioned slightly higher than my subject. I usually achieve this on my kitchen counter since there is a big window slightly above my counter. Below is a behind-the-scenes shot (from Lisa Monet Photography) of me using this spot in my home to photograph a scene.
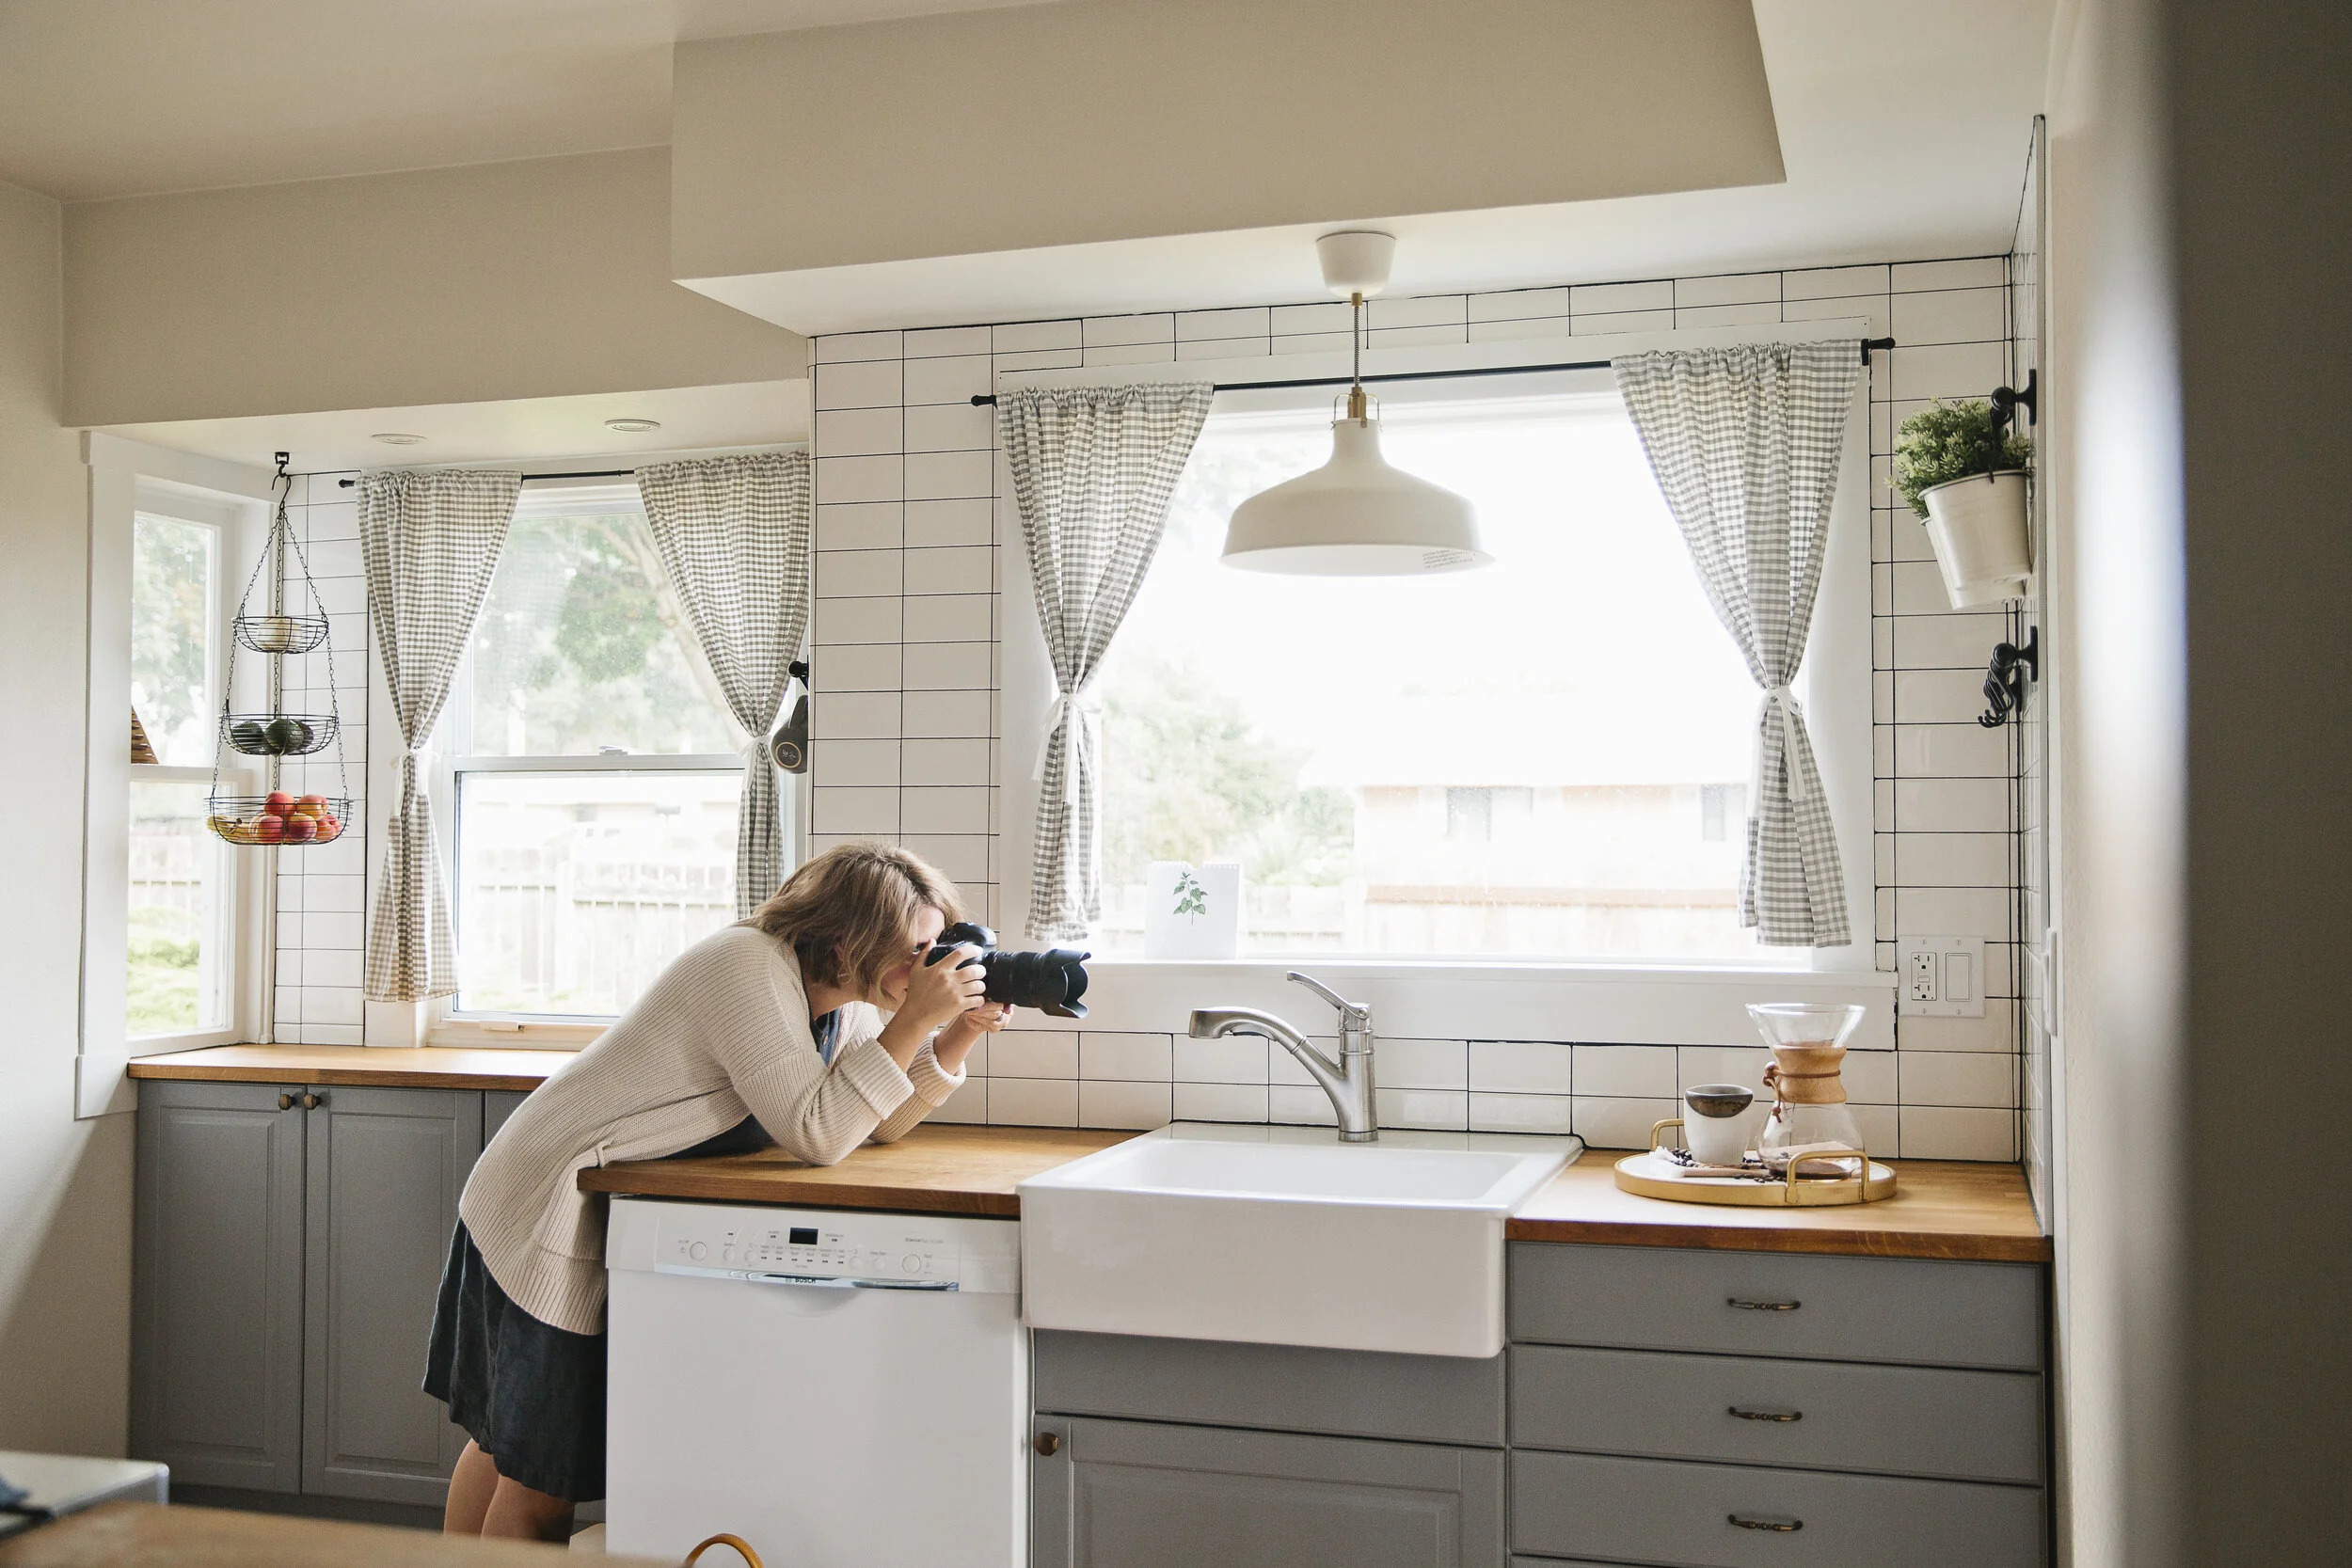
And below is the photograph I took so you can see how this kind of light effected my photograph:

I hope this dive into the characteristics of light was helpful for you to understand how to use natural light to your advantage! Already familiar with using natural light in your photographs? Tell me what your favorite type of light to use in brand or product photography is in the comments below! Feel free to leave your questions too! And if you want to learn more about how to take better photographs of your products, click the button below!